How to use acronis disk director. Description and brief instructions for working with Acronis Disk Director Suite
Acronis Disk Director allows you to manage the disks of your computer, partition them, resize existing partitions, format them in the desired format, make them active, etc.
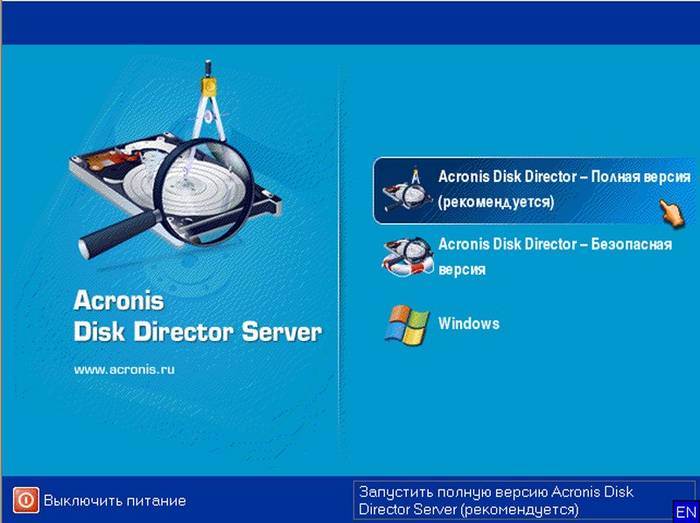
Working with the program is not very difficult: when you launch the program from the system flash drive, you will see something like this window.

You can select any desired action in two ways: either by highlighting the desired section with the left mouse button and selecting the required action from the menu on the left side of the window; or by right-clicking on the desired section and selecting the required action from the context menu.
So, by selecting the “Resize partition” command, you will see something like this window in which, by moving the left mouse button on the partition boundaries (left or right), you can specify the desired size.

Just keep in mind that before starting Acronis you need to specifically understand what exactly you want to do with the disks and defragment the files on the disks accordingly using a defragmenter JkDefrag by moving files to either the beginning or the end of the section. So, if you want to shrink a partition by freeing up space at the end (as in the picture above), then first move all the files to the beginning of the partition. If you want to make a partition smaller by freeing up space at the beginning, first move all files to the end of the partition.
If you need to format any partition in any desired format, you can do this in the following window:

You can perform one task at a time, but you can show the program a whole script of actions and it will perform them all in turn. To launch a task or script for execution, you need to click the button with a black and white flag.
I will describe how I changed the disk structure on the new Asus laptop - initially its disk was divided into three partitions:
hidden, 12 GB, FAT32, with data for system recovery using a special recovery DVD.
main, 116 GB, NTFS, with Vista OS
logical, 104 GB, NTFS, empty, for storing user files.
Since I immediately decided to abandon the recovery and Windows data recovery systems using rollback points, due to the fact that I restore the functionality of computers using the method described in the article “Creating an image and quickly restoring the system,” I do not need a hidden partition. The system disk has a capacity of 116 GB. excessively large, 40 is quite enough. I also decided to provide two partitions for user files and one for storing disk images.
Based on this, having launched Acronis Disk Director from the system flash drive, I compiled the following action scenario for it:
delete hidden section
resize the system partition: increase by the free space
resize the system partition: reduce the size to 46 GB, freeing up space at the end.
in the free space, create a new logical NTFS partition labeled Program
change the size of the logical partition: from 104 GB. up to 84 GB., freeing up space at its end, set it to the Distrib label
in the free space, create a new logical NTFS partition labeled Obraz
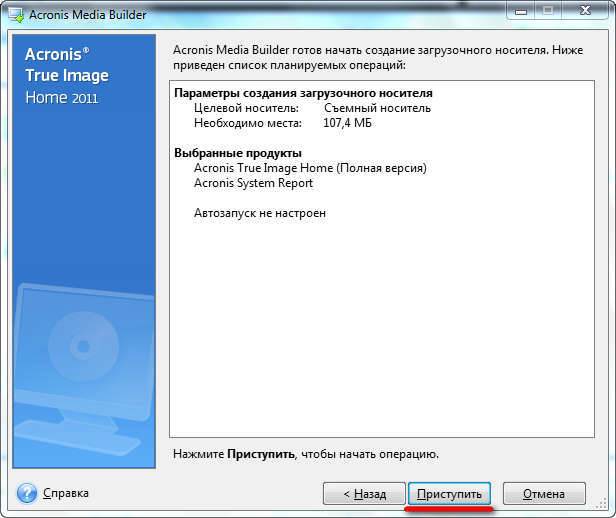
Then I clicked the "Run" button, after which Acronis showed a list of actions for which I clicked the "Proceed" button. Within a few minutes, Acronis completed everything planned and reported it.
Then I closed it, removed the flash drive from the laptop and rebooted it. Having started, Vista detected something there and offered to restart. The result was the following sections:
Basic, Vista, 46 GB, NTFS, with Vista OS
logical, Program, 82 GB., NTFS, empty, for storing user files.
logical, Distrib, 83 GB, NTFS, empty, for storing user files.
logical, Obraz, 21 GB., NTFS, empty, for storing DiskC images.
When you need to transfer partitions without losing data or format a hard drive, it is better to resort to auxiliary tools. Now there are many packages for data recovery and formatting work. Naturally, you can take advantage of the capabilities of Windows, but sometimes you can’t do without auxiliary programs. We will consider one of these below.
What opportunities does it provide?
The formatting function allows you to start the “life” of your computer on the selected device from scratch. It erases absolutely all information located on the media: user profiles, previously installed programs, OS. But the most important thing is that viruses come with them.
Thanks to this somewhat radical method of cleaning a USB storage device, you can install a new OS on a formatted device or reinstall the old one.
By its nature, this process is divided into two subtypes:
- high-level (software);
- low-level (hardware).
In the first case, the file system and tables are re-formed.
In the second, information about the position of the sectors (clusters) located in it is applied to the surface of the hard drive at the hardware level.
This allows the head of your HDD (Hard Disk Drive) to be oriented on its surface with greater accuracy.
Video: format your hard drive
Working with HDD using Windows
High-level formatting is easily carried out using standard Windows OS tools. In order to carry out a similar procedure on any external device, just insert it into the USB connector and right-click on the mouse.
In the context menu that appears, select the formatting function, then select the file system, and start the cleaning process. This method is the fastest possible solution.

However, in order to remove an operating system from a hard drive, if it is present on the computer in a single copy, you will need a little more knowledge: its removal is possible only through debugging mode and using special command line operators ( cmd), which not everyone can do.
It is performed in several steps:

From now on, we have two options for further action:
- using the available set of tools, using the program, click settings, and then formatting;
- or press a combination of two keys - Shift and F10. A standard command prompt will open.
And again a series of actions:

After successful formatting, we will need to update information about the existing disks and re-set their partition sizes. But high-level cleaning of the hard drive is not the best option, especially if it has bad sectors: performance is significantly reduced, and periodic freezes and other “delights” become an integral part of the work. And only special applications will help with low-level formatting.
Hard drive formatting program Acronis Disk Director
Acronis Disk Director is perhaps the best program for formatting a hard drive today. A user-friendly interface, high reliability and high-quality results make this application the No. 1 tool in preventing “illnesses” of your HDD.
Used by professional computer gurus, it allows you to perform many operations when working with a storage medium. Delving into the very structure of the program, it is easy to understand why it is so loved and even revered by many people whose activities are, in one way or another, related to the computer craft.
Acronis is a complete and, importantly, convenient tool for working with a hard drive, known to the public for many years. Let's find out why.
Program features
The Acronis Disk Director arsenal is aimed at maximizing the user's communication with the computer hardware. This is manifested in everything: detailed tips will help beginners who are just mastering it, so they won’t stumble during this process, and the ability to have absolute control over their actions will allow professionals to achieve exactly what they want in the end.

Acronis Disk Director is a universal program for deep formatting a hard drive. Thanks to it, partitioning disks will not seem as complicated as it would be with the same standard Windows tools.
You can always, with mathematical precision, allocate for a future disk exactly as much space as you think will be enough.
In addition, it is possible to transform ready-made sections into:
- primary- those from which the operating system will be loaded, first of all;
- active- additional operating systems are installed on them;
- logical- acting as a repository for programs, data and other personal information.
Functions
The previous section is not enough to fully reveal the potential of this program, because in addition to its capabilities, it also has a number of useful functions.
We invite you to take a closer look at them:
- free conversion of HDD partitions between static and dynamic volumes;
- saving a backup copy of the current operating system: having an archive with a backup copy on external media, you can avoid the need to install programs again after cleaning - just unzip the file and your system will be up and running again;
- recovery of previously deleted partitions;
- Convert boot record from MBR to GPT and back without using the command line.
Looks good, doesn't it? However, what is striking is the fact that all this really works, without fail, and is equipped with fairly detailed instructions and help that will help you find a solution to almost any question posed to the program.
Work process
As mentioned earlier, clearing a disk of data on it can occur both at the hardware and software levels. But how exactly it happens is a small mystery, but quite interesting.
Let's start from smallest to largest. The high-level option comes in two types: fast and full. With fast, the file system of the storage medium is completely rewritten.
The most modern standard is the NTFS file system, which is characterized by high performance and ease of data storage.
Full high-level formatting pre-scans the entire hard drive for bad sectors and then tries to fix them. And only then the file tables are written to the device itself.
The low-level option redistributes the available space on the disk surface, re-creating tracks (tracks), onto which the control program is subsequently reinstalled. This method takes the most time, but is considered popular for the most effective restoration of solid-state media.
After carrying out one of the procedures described above, there is only a file system on the disk - all partitions will have to be created manually, manipulating the free space of your hard drive.

Acronis Disk Director is the best solution for this task. It is possible to run this program both from under the OS shell and by booting from a flash device. If everything is clear with the first option, then for the second we will need to enable support for booting the computer from drives in the BIOS. How to do this was described above in the “Formatting HDD Using Windows” section.
Let's look at the whole procedure step by step:

Pros and cons of Acronis
The program is paid, but the developer has provided the possibility of using a trial (demo) version of its own product. It is noteworthy that, despite the limited period of use, there are no restrictions as such: the user can enjoy the full functionality of this program for the entire period. The only downside is the fairly “decent” cost of the program for the average user.
The advantages include:

Taking into account all the capabilities of Acronis Disk Director, it is impossible not to highlight that this particular application will help you most effectively clean external or internal storage devices of any level, split them into partitions and much, much more. Its quality and reliability grow with the release of each new version, the functionality is constantly expanding, and the capabilities are increasing.
>Subscribe:

For many PC users, working on the simplest setup of the operating system causes a feeling of fear and doubt in their own abilities. In turn, attempts to solve more complex problems that require additional knowledge self-destruct.
A striking example of this is the desire to split a computer’s hard drive (HDD) into several logical partitions using the Acronis program.
Many users are of the opinion that working in Acronis Disk Director Suite is incredibly difficult, but we hasten to inform you that this is absolutely not the case.
This article will tell you in detail how to work with this program. Of course, we will not consider everything, but will cover the most basic manipulations with the HDD.
Instructions for creating logical disks in Acronis Disk Director
Let's launch the program.
If this is the first time you see the Acronis interface and do not know how to work with the program, then select “Automatic mode”. The most basic functions will be available in it.
Over time, when the key points are clear, you can experiment in “Manual Mode”.

As a result, we see the following:

You need to click on the “Wizards” menu item.

As a rule, the first two points are the most in demand in work.
Let's look at “Creating partitions”
For example, we have a 1 TB hard drive. Please note that this means that the computer has one HDD installed. In our example, the HDD is initially divided into three local partitions, and we will create another one, for this: click on the item in the menu “Wizard” -> “Create partitions”, as a result we see the following:

To create a new partition we will use the space from drive “E”.


During this process, Acronis will lock the partitions. In this state, you cannot change files and folder contents.

As you can see in the screenshot, it is possible to use only 354.4 MB.
Please note. Before partitioning the disk, it is necessary and only then to use its space.

Important. If the partition being created is needed only for storing files, then select the “Logical” type. If to install the system, then “Active”. By switching partition types, you can study their purpose in detail.
This example shows how to create a logical drive to house data files.


We don’t enter anything and continue.
The Acronis developer company is working on releasing products for home and corporate users in terms of system solutions. Acronis disk is a software package that allows you to conveniently and efficiently work with hard drives, without losing data, namely: restore deleted and damaged partitions, copy, resize, manage boot, edit content and much more. In this article we will look in detail at how to use Acronis programs using the example of the two most popular products of this company.
Acronis True Image Home
This program is designed to backup any data. This package provides complete protection and, in case of loss, allows you to quickly restore any file. Using this program, you can easily and quickly create copies for your hard drive, as well as determine the purpose of archiving.
Advantages of this program:
- Quickly copy and restore personal files and settings on your PC.
- Data protection is ongoing; the program automatically creates copies of archived information every five minutes.
- The user-friendly interface is suitable for both experienced and novice users.
- The online archiving service allows you to copy important files to an accessible and secure server on the Internet.
In this section we are looking at the latest version of acronis true image. How to use this application after installing the program on your PC - let's look in more detail:
- After starting the program, you need to go to the main window. If you want to create an archive copy from your disk, then you just need to click “archive”, after which the program will create a copy on another disk in the “my backups” folder.
- You can also change the storage location of archived data by using the “operations” button and selecting to change backup settings.
- This program allows you to manually select, by highlighting, the desired partitions and disks to copy. To do this, you need to tick the required sections.
- To find a previously created copy, just click the “search for backup” button, after which Acronis itself will show you its location.
- If you want to restore the state of Windows at the time of archiving, you need to select your archive in the backup copies and click the “restore” button. After this, your PC will be required to reboot, after which the OS will return to its previous stable state.
- When figuring out how to use Acronis, do not forget an important function - OS recovery at boot. If you have problems starting your PC due to OS damage, then you need to first launch acronis true image by pressing the F11 button, enter the program and expand the previously created OS image and insert it in place of the damaged one.
Acronis Disk Director Suite
This program is a powerful tool, in the form of a comprehensive software package that contains a partition manager, a toolkit that allows you to edit records, and an Acronis Disk boot manager. How to use this tool if you are an inexperienced user? There is no need to worry about this issue, since the simple and clear interface of the program will be understandable for any beginner.
With Acronis Disk you can do the following:
- create and delete partitions;
- copy and move their contents;
- Convert partition systems without fear for safety;
- change the location and parameters of previously created partitions;
- recover files deleted by mistake;
- hide, format, assign letters and status to various sections;
- copy the existing OS and create the necessary configuration;
- install several operating systems in one partition;
- hide information from strangers by setting a password to launch it;
- recover lost files and folders;
- load installed OS from any partition and disk;
- remove code belonging to viruses.
Let's take a closer look at Acronis disk director and how to use this program after installing it on your computer:
- After launching the program for the first time through the Start menu, a window will appear on the screen asking you to select an interface mode. Remember that when choosing “automatic”, some of the settings will be hidden, which is not observed in “manual” mode.
- Partitions are created through the “wizard”, where you will be offered the choice of creating them using free space on your hard drive, or by reducing existing partitions. You will need to select the disk and size of the partition to be created, as well as assign a letter.
- Increasing the space of the required partition is performed using the “wizard”, where you select the increase in free space. Here you need to indicate the section that needs to be increased and the other one through which this operation will be performed.
- Moving is done by right-clicking on the section that you want to move and selecting the required “move” action, and then specifying the future location.
- To copy partitions, you need to perform a process similar to moving, only without deleting the partition.
In this article, we looked at the main most frequently performed operations in these programs. There are other additional features that you can explore when working with these software packages on your own.
How to work with Acronis program? Part 1ProgramAcronis is a disk backup system. It has quite a lot of useful functions. The traditional Acronis package consists of two main components: and Acronis True Image. Today we will learn how to work with each of them.
After installing these programs on your computer, let's first try to split the hard drive partition into two parts without losing information. Let's launch Acronis Disk Director. After launch, a working program window will appear in front of us, from where we can manage all operations with the hard drive of your computer:This package allows you to work in two modes: automatic operations on partitions, designed to perform basic operations, and manual operations on partitions, designed for advanced users and providing complete control over all partition operations.
In the automatic operating mode, the main actions on sections are performed using a wizard in a step-by-step mode.
Manual operation control mode allows the user to independently select operations and stop or cancel them on demand.
Switching modes is done using the “View” menu.
After installing the new hard drive, we will need to split it into partitions for more convenient use. This operation can be carried out automatically and is performed as follows:
- Let's launch the "Partition Wizard" and choose to create a partition using free disk space
- Next, we will need to specify the partition size using the digital window, or by moving the slider.
- Next, you should specify the type of partition to be created. The options are as follows; “Active” (disk for system installation), “Primary” (for both system installation and data storage) and “Logical” (for data storage). The second type is usually used because of its versatility and the ability to make subsequent changes. So, select “Primary”
- Next we will need to select the file system type. In our case it will be NTFS
- Next, we will need to assign a drive letter, and assign an optional partition label parameter.
- When the wizard completes, click the “Finish” button.
We should not forget that all operations in Acronis Disk Director are initially classified as pending and can be canceled at any time before clicking the “Run” button in the main program window.
To create another partition, let's return to the main Disk Management Wizard window. By analogy, let’s create another partition on your computer’s hard drive and, after viewing the prepared markup structure, finally click on the execute button.
After the program finishes, we will see the following result:


