How to set up a mouse on Windows 7: basic parameters
Setting up a manipulator called a mouse causes some difficulties for many novice users. However, the question of how to configure a mouse on a laptop (Windows 7) or a desktop computer with a similar or any other operating system can be solved quite simply. Let's look at setting the necessary parameters, knowledge of which will be useful during the setup process.
How to set up a mouse on Windows 7: access to basic settings
The manipulator settings can be called up from the standard “Control Panel” by launching it through the “Start” menu or by entering the control command in the Run console, which, in turn, can be accessed using the Win + R combination on the keyboard.
First you need to select the equipment and sound section, where you go to the line of devices and printers and select “Mouse”. You can do it even simpler by turning on the display of small icons in the view menu.
How to configure a mouse on a computer (Windows 7): button configuration
There are several tabs in the settings window, but the button settings are active by default. Here, first, you should pay attention to the double-click speed.
To change the operations assigned to different mouse buttons, use the top line. Here you need to take into account that this parameter is used to reassign the main operation and assign its execution to the right button. There is also an indication that it is used mainly by left-handers.
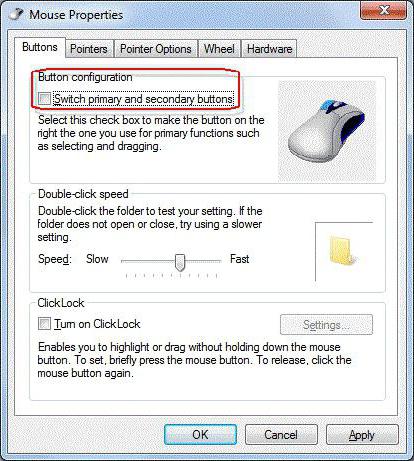
In the question of how to set up a mouse on Windows 7, you cannot ignore setting the sticky setting. Many people do not understand what it is and why it is needed. It's simple. With this mode activated, you do not need to select an object to drag; you just need to place the pointer on it, after which the object will be selected automatically. The response speed is adjusted via the corresponding button.
Setting pointer options
Now let's see how to configure the mouse on Windows 7 using the settings and pointer parameters. There are two tabs for this.
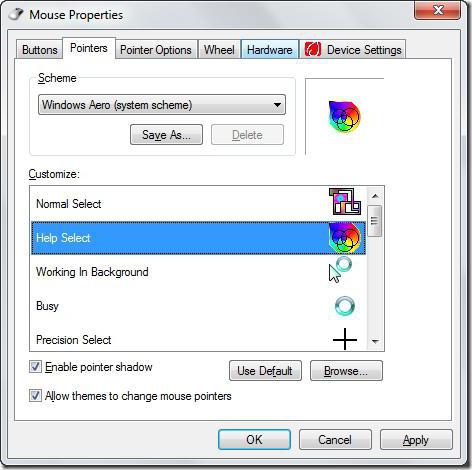
Directly in the pointers section, you can select the type of cursor for a specific operation when it changes its appearance (for example, the appearance of an hourglass while waiting for a process to complete). In this case, it is possible to select one of the standard schemes, by changing which you can save your own settings. Along the way, some users enable the display of the pointer shadow, which in general can be classified as additional graphic effects. If you download additional icons from the Internet, they can be used provided they are selected in the save location through the browse button.

Another point in the question of how to set up a mouse on Windows 7 involves setting some parameters that ensure comfortable operation (the “Pointer Options” tab). Here the priority setting is the speed of cursor movement. It can be changed by moving the slider and then pressing the apply button for the changes to take effect and you can see how it will behave on the screen. But it is not recommended to touch the default increased accuracy.
Additional settings such as displaying the cursor trail, hiding the pointer when entering from the keyboard, or fixing the position can be omitted.
Wheel options
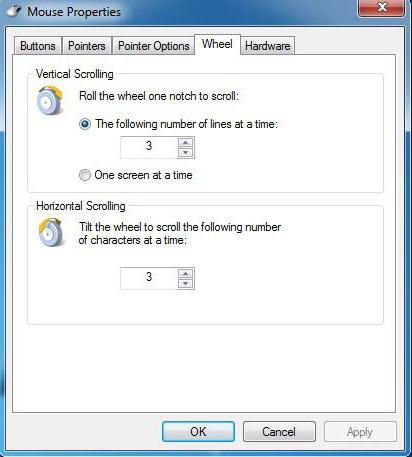
There are only two options in the scrolling settings: moving across the screen vertically and horizontally. You can set displacement values different from the recommended ones, but it is better for the average user not to change them.
The hardware section is not considered, since its settings will lead the user to the device properties window, where you can view information about the driver, find out if there are operating problems, etc. The same menu, by the way, can also be called from the “Device Manager”.